Yay! I can't believe I've been blogging for ONE YEAR!!!!! EEKK!! Here are some milestones:
Followers: 24
Pageviews: 7, 473
Posts: 210!
Most Popular Post: Photography tips Part 2
Google+ Followers: 11
Thanks for reading my blog! I'm so grateful to have this many followers! You rule guys!
Showing posts with label Crafts. Show all posts
Tuesday, May 28, 2013
Monday, May 20, 2013
New Series! Miniature Monday~ Cookies and Milk
I will be introducing a new series every Monday called Miniature Monday, where I show you how to make miniatures for your doll house, Barbie's or similar size doll. Today I'm going to show you how to make chocolate cookies and milk!
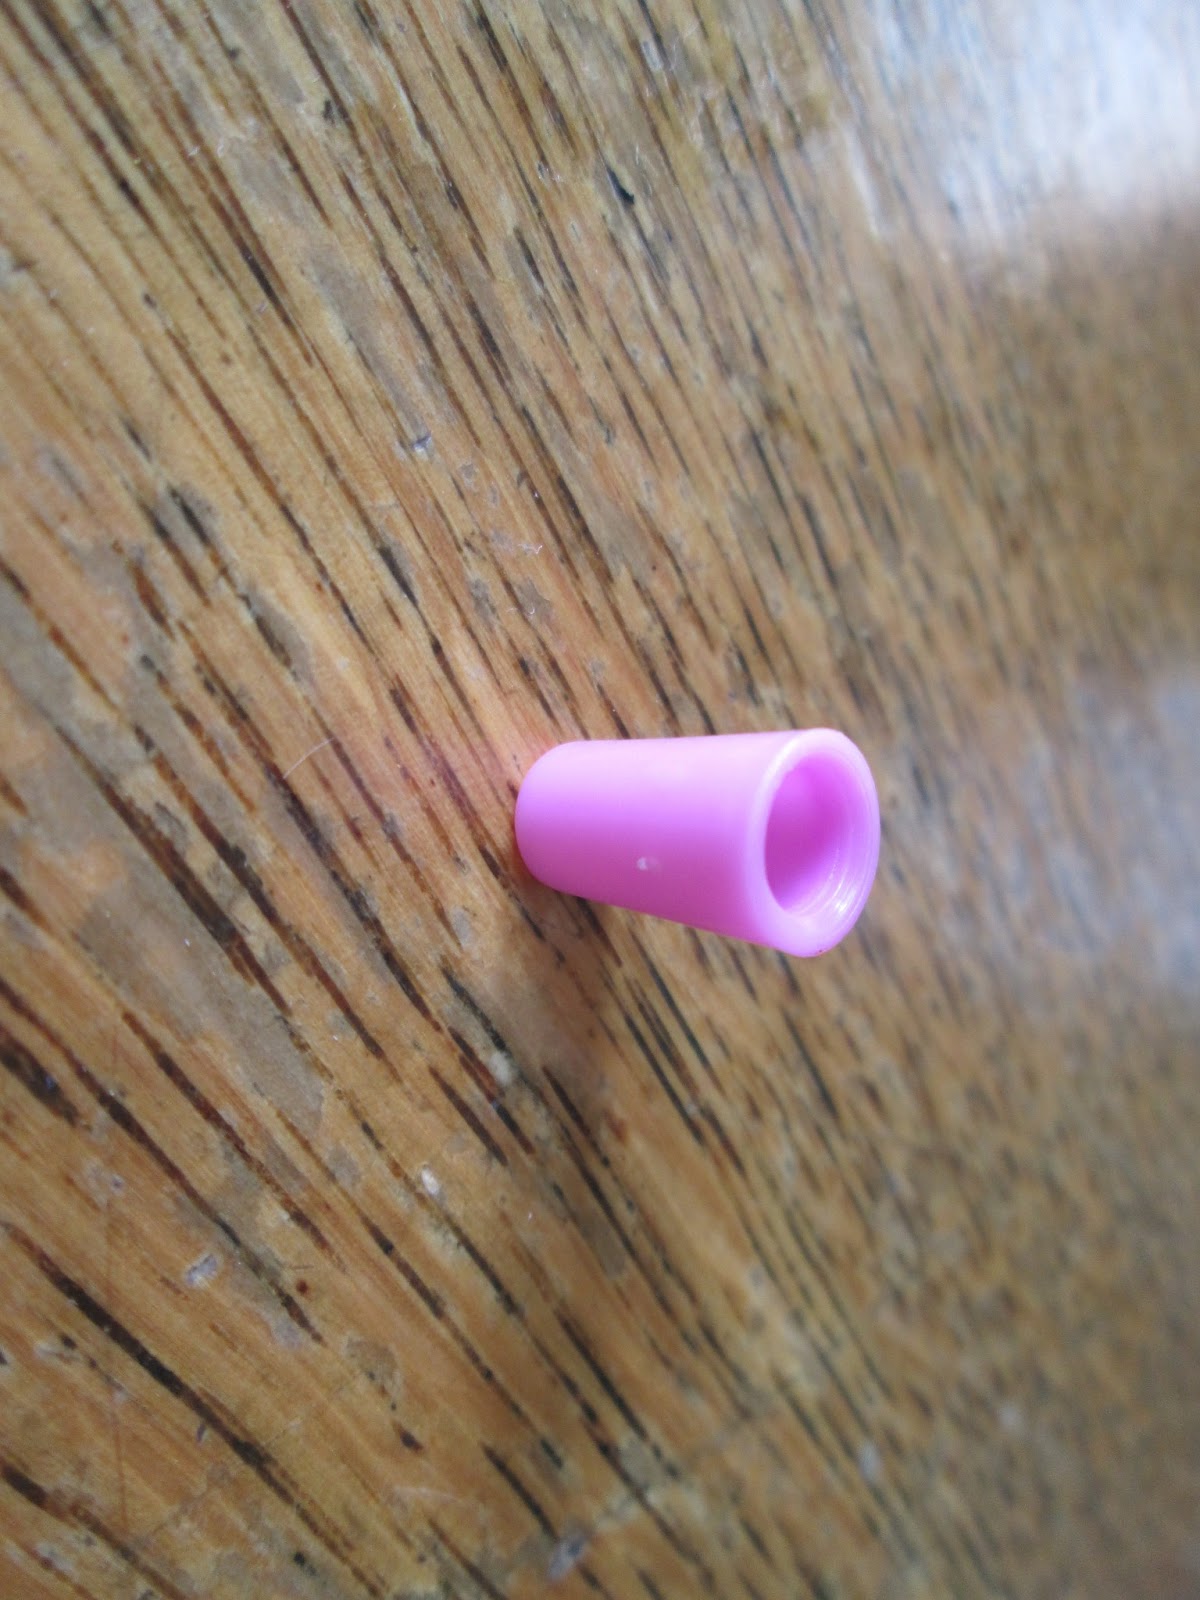
Milk: For a cup, you can use a bead, a real miniature cup, or I used a little cup-shaped thing that snaps into another one that holds a bubble container on a string.
Tear off a little piece off of a cotton ball and roll it. Push it into the cup.
Done!
Cookies: Use a hole puncher to punch out a circle from tan(chocolate chip) or brown(Chocolate choc. chip) foam.
Use a brown or black Sharpie to dot little dots on the cookies.
Plate: Press the cap of a glue stick or similar size lid into the foam to form an imprint.
Cut it out. Use a smaller size lid and lay the plate on a sponge or cotton ball and press the smaller sized object into the plate.
Glue the cookies to the plate. Cover it all in a layer of Mod Podge.
Done!
Enjoy! (ha ha, sorry her face looks red)
Friday, May 3, 2013
DIY~ Make Bow Earrings
Is your doll in need of some earrings to spruce up her summer wardrobe? She will very happy if you make her these!
You will need:
felt
2 small paper clips
a ruler
scissors
hot glue gun
1) Unbend a paperclip
2) Cut of the smaller side where it starts to curve. You may want to open the bended part open to fit around a doll's earring. Do the same to the other one. (To cut the paperclip, I find it easy to keep cutting it until it gets black, then twist it off)
3) Cut out a rectangle from the felt 1" long and 1/2" wide.
4) Pinch in the middle and glue.
5) Cut a little strip a little less the a centimeter wide and an around 1" long. Glue around the middle of the bow.
6) Repeat until you have two.
7) Glue bow to the paperclip.
Take your doll's regular earring posts out. Put the bow earring right behind the thing on the earring, you know the main gem/metal piece(I don't know what's called...:P)? Slide the earring back into the earring hole.
Your doll has some new dangle earrings to enjoy!!
Enjoy!!
Sunday, April 28, 2013
DIY: Doll Bow Tie
SORRY for not posting! Since I didn't do this on Friday, i will do this now instead of paper Saige Sunday:(
You will need:
felt
Velcro
scissors
hot glue
doll for measurement
1) Cut a rectangle from the felt 2' long and 1" wide.
2) Pinch in the middle and glue.
3) Cut a strip of felt about 1 1/2" long and 1/2" wide.
4) Wrap the strip around the middle of the bow and glue.
5) Cut out another strip 6" long and 1/2" wide.
6) Glue a tiny piece of Velcro on both sides.
7) Glue the bow to the strip.
8) Wear!!
Perfect for any casual day!
We wear our all the time now!
PS: Thanks sooo much for 22 followers!!!
Wednesday, April 24, 2013
Craft Requests- How to Make Doll Hangers!
Someone suggested I make doll hangers, so here they are! *This is to make the hanger with the wire handle*
You will need: foam, scissors, a small paper clip, a doll dress or tank top(for measurement), hot glue
1) Sketch a hanger like this on the foam. Cut out.
2)Unfold the paper clip. 3) Bend out the larger side a bit more.
3) Glue on the paper clip where it starts to crimp, on the foam.
4) Put the dress/tank top on the hanger. Cut a slit where the strap is. Done!
CLAIRE<3 (sorry, my signature wouldn't load up:/)
Subscribe to:
Posts (Atom)
+my+name+CLAIRE!!.jpg)
+CLAIRE!.jpg)
+CLAIRE!.jpg)