Thursday, October 30, 2014

Craft- Halloween Banners

Banner are a simple to make decoration for any holiday, and if you still don't have any decorations for Halloween up yet, this is something great for you. I chose to do the word "BOO", but you can add "Happy Halloween", or "Spooky" or something like that. I also made this in AG size and mini doll size. Let's get started!

You will need:
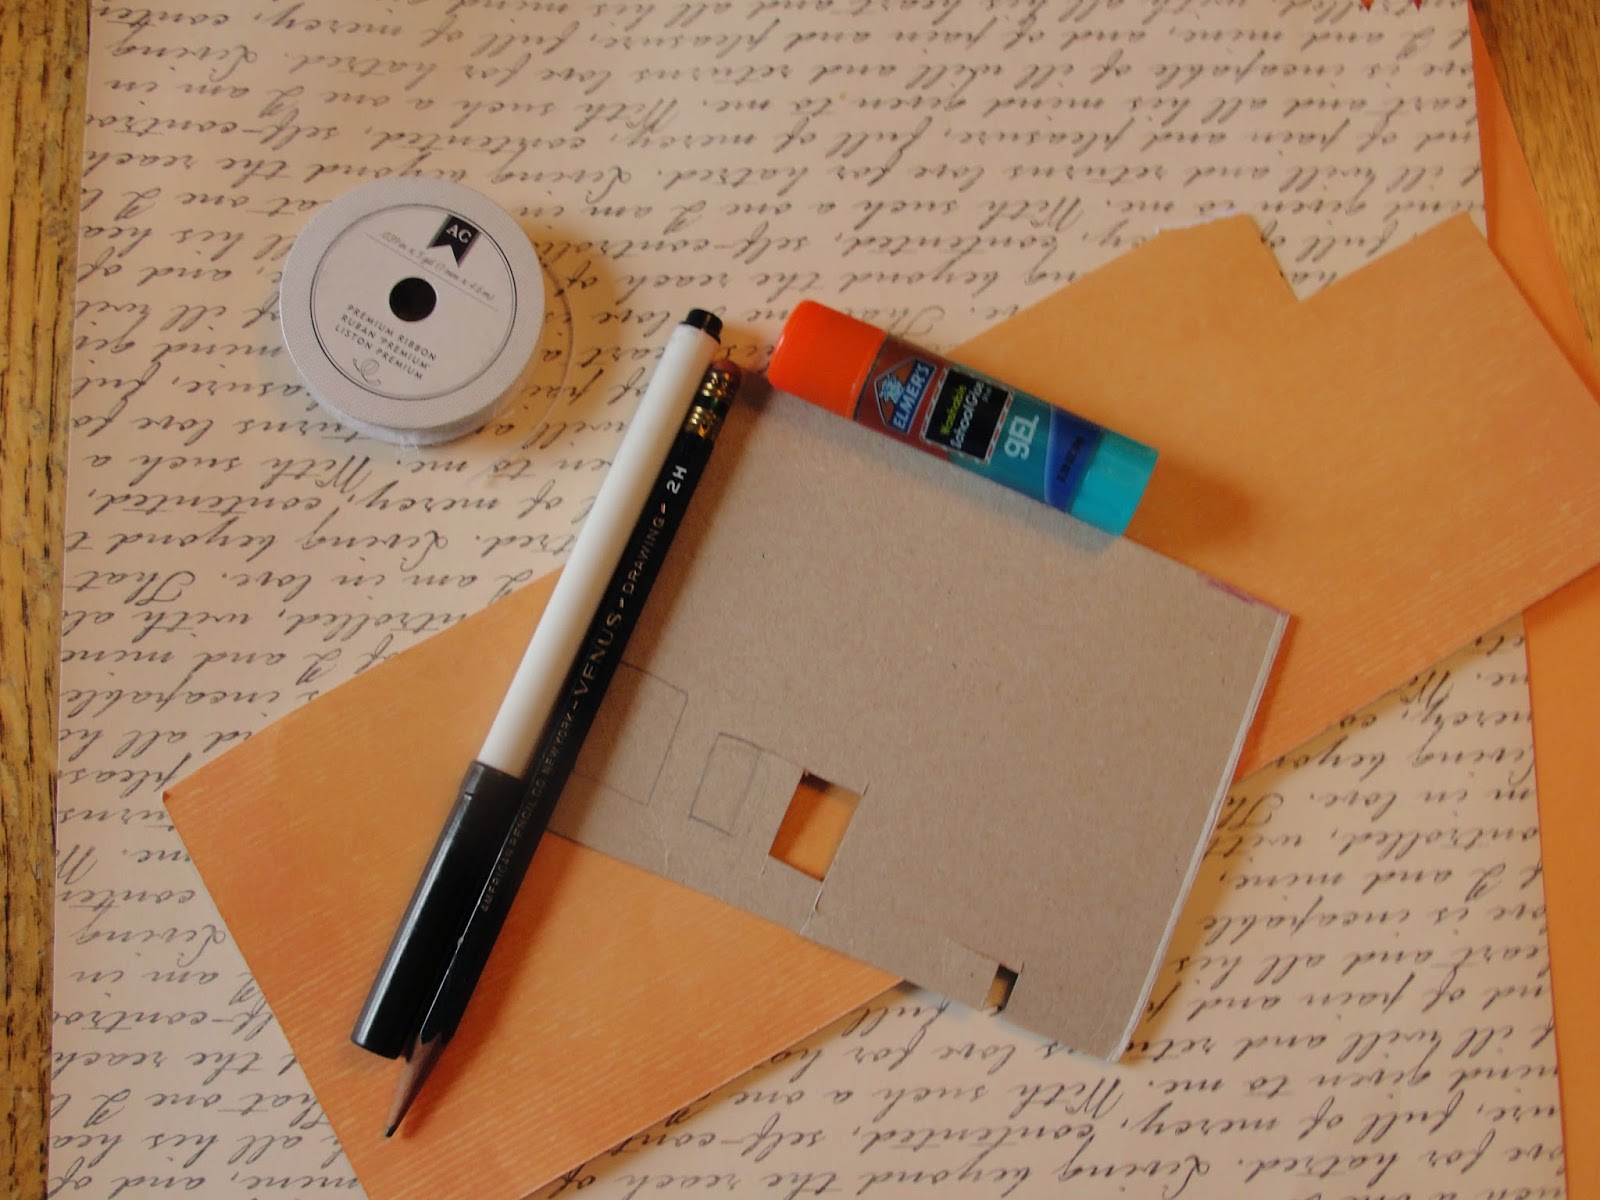
*Thin cardboard for a template
*2 types of paper
*String, ribbon, or yarn
*Marker/pencil
*Glue stick
*Hot glue gun/hot glue
*Tape, tacks, or putty to hang up

1) Make a template of how big you want the middle section with the letter on it to be. I made a human size one, an AG size one, and a mini doll one.

2) Cut them out.

3) Use the template to trace bigger triangles out of the background paper you tend to use for the bigger triangle.

4) Cut one out for each letter in your phrase.

5) Use the template to trace the same number as the other triangles you just cut out, but the same size as the template. You are using your other paper.

6) Cut them out and glue all the triangles together like so with the glue stick.

7) Write the letters on each flag.

8) Cut out a piece of string a little bit longer than all the flags right next to each other.

9) Glue them on the string with hot glue.

And you are done! (Excuse the hot glue cobwebs)

So tiny and cute!

Here is the size difference between the mini doll size one and the AG size one.

I would show you where Petunia hung her's up, but the pictures are terrible with the lighting in there. Tomorrow maybe.

My other dolls put it above their kitchen sink.

Hope you enjoyed!
~Claire


Wednesday, October 29, 2014

Craft- Halloween Ghosts


When I think of Halloween, I think of ghosts. They are a classic Halloween costume, movie idea, or a haunting tale. So today I decided to show you some little ghosties you can make for any doll size- even yourself- for Halloween. They are super simple and only take a few supplies...let's get started!

You will need:
*1 Tissue for 1 AG sized ghost, or 1 tissue to make several smaller doll- sized ghosts
*Black marker
*String, ribbon, thread, etc.
*Hot glue/ hot glue gun

1) Lay a tissue out flat.
2) Find the middle and pinch it like shown.

3) While pinching the middle still, lift your hand up.

4) Lay it down flat where it fell when you held it. It should have ripples and folds in it.

5) On the back, hot glue some of the bigger folds near the top together, so that the shape stays.

6) Cut out a small piece of string, ribbon, thread, whatever you are using.

7) Glue the string to the back like so.

8) Draw on a spooky face with the marker.

Hang it up and you're done!

These are the AG sized ones compared to the mini doll ones. Fore the mini doll ones, I just cute small circles out of the tissue and did the same steps.


My dolls' rooms are certainly spooky for Halloween! Hope you enjoy!
~Claire

PS- For my b-day, I got a Smart Camera, so expect some photos from that soon!


Monday, October 20, 2014

4 Weeks of Fall- A Surprise for Elizabeth

Sunday afternoon Elizabeth was just hanging out and pondering what she would be for Halloween. "A queen? No, I was that last year. A bunny? No..." Then she heard a little jingle. "Why, that is Princesses's bell!"

Then she saw Princess come around the corner with an adorable little tutu on. "AWWWW!!!! Princess, is that your costume? It's adorable!!"
"Mew." 


"Mew."

"Aw, cutie-pie."

Selfie time! Princess wanted to escape though.

Yay!

Who do you think gave Princess her tutu? If you were here in February or March, that might give you a clue...

~Claire


Sunday, October 12, 2014

4 Weeks of Fall- Fall Decorating

"Hey guys! Emily shouted, "I got the decorations out!"

"Here's the fall stuff."

Nahji put the Halloween pumpkin up, as well as a metallic orange one.

We put the gourds in a basket...

...and put them on the kitchen counter with a pumpkin plate.

Emily baked some candy corn cookies to put on the plate.


The trick-or-treat pumpkin went up on the desk.

One sparkly pumpkin on Evelyn and Nahji's nightstand.

And one on the other girls'.

We didn't know what to do with the rest, so we put them in the fox trick-or-treat box and put it by the bunk bed.

How do you decorate for fall?
~Claire


Thursday, October 9, 2014

4 Weeks of Fall- Fall Cleaning

I was going to tell you with my Monday post that it starts the beginning of a new series- 4 weeks of fall. I would have posted yesterday too, but...ya know...:P  I will not post every day with this series like I normally do, since this is four weeks, but soon I will have my Christmas series (already! !!) up and then Valentine's Day...well that's a little while off. So, come along with Elizabeth as she does some fall cleaning! And also, sorry some of the pictures are blurry, unfortunately my dollhouse does not have the best of lighting. :(

Hi everyone. This week I walked into our room and stopped. It was a complete mess, as you can see from the photo. So I decided to clean it, since no one else would.

My best advice is to tackle one section at a time. Oh my.

First I have to get the bins of clothes out of here.

Who leaves their bags and shoes on the floor??

Leaning things on the chair? We have better places for these things!?

I'll just steer clear of this area for now...ahemahemClaire,youbuyustoomanyhairthingsahemahem.

And where is this junk supposed to go??

Seriously?? Food from Valentine's Day and St. Patrick's Day?? SERIOUSLY????

And, hehe, what is this huge pile of clothing doing here, hehe? **guilty**

Well, at least it's clean now!

Are you doing any fall cleaning in your dollhouse to get ready to decorate?
~Claire


Related Posts Plugin for WordPress, Blogger...